Growing Guides:
How to grow Dutch Iris Bulbs
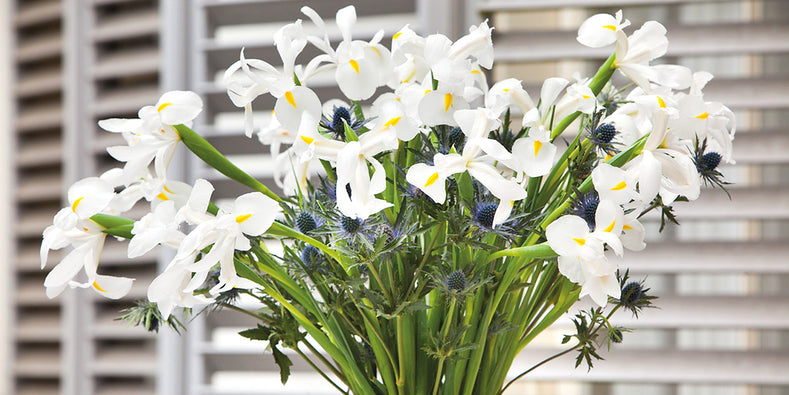
Despite their name, Dutch Iris flowers have never grown wild in Holland. These beautiful orchid-like flowers are in fact the results of clever hybridisation by Dutch growers of iris species native to Portugal, Spain and North Africa. Tall, elegant, exotic, and spanning all colours of the rainbow, it’s no wonder these beautiful blooms have become one of the most popular of all the Spring bulbs. In addition to their striking looks, Dutch Iris have a very long vase life, making them firm favourites with florists for bouquets and floral displays.
Dutch Irises will perennialise but many gardeners treat them as annuals, discarding the old plants and planting fresh bulbs each season.
The small, teardrop-shaped bulbs of Dutch irises are planted in the same way as tulips. Follow our simple step-by-step guide to makes sure you get the most out of these gorgeous flowers.

Planting Dutch Iris bulbs:
Follow our simple step-by-step guide to planting Dutch Iris bulbs:
- Dutch Iris bulbs are planted In Autumn, before the ground freezes. Pick a sunny spot with good drainage
- Dig a hole around 5-8cm deep (follow the general rule of thumb when planting bulbs and give the bulbs at least 2 times their height of soil above them), drop the bulb in, and cover with soil. Make sure you place the bulb the right way up – Dutch Iris bulbs look like a little teardrop-shaped onion with a slightly pointy head and sometimes have wiry roots growing out of the underside - plant with the pointy head / spike pointing up.
- Leave approximately 10cm between each bulb. If you are planting in containers, you can cluster them a little closer together.
- After planting, water well so that the soil above the bulbs settles.
- Dutch Iris bulbs will flower in Spring. After the flowers die down, allow the plant to enjoy a rest period - there is no need to water much during this period. Leaves will turn yellow and die back and at this point you can choose to tidy up the plant and remove the old leaves or just let nature take its course.
- Allow the stems and foliage to remain throughout the summer, this will help form next season’s bloom. Keep them watered and when they die back, gently pull the dry stalks away leaving the bulb behind.

How to grow Dwarf Iris bulbs?
Dwarf irises naturalise easily and are the perfect Spring bulbs for bringing bright splashes of colour to spots under trees and shrubs. These vibrant beauties are also fantastic for pot and container gardening. Plant in Autumn and follow the general bulb-planting rule and give the dwarf iris bulbs at least 2 times their height of soil above them. When planting in the ground allow for 6 bulbs per 30cm2. If you are planting in containers, you can cluster them a little closer together.
Now that you’ve learned how to grow Dutch Iris bulbs, all that’s left for you to do is decide which variety to grow. Explore the spectrum of colours available in the DutchGrown Iris bulb collection and choose top-quality varieties at wholesale prices for your perfect spring display.
